How To Create A Label Template In Word
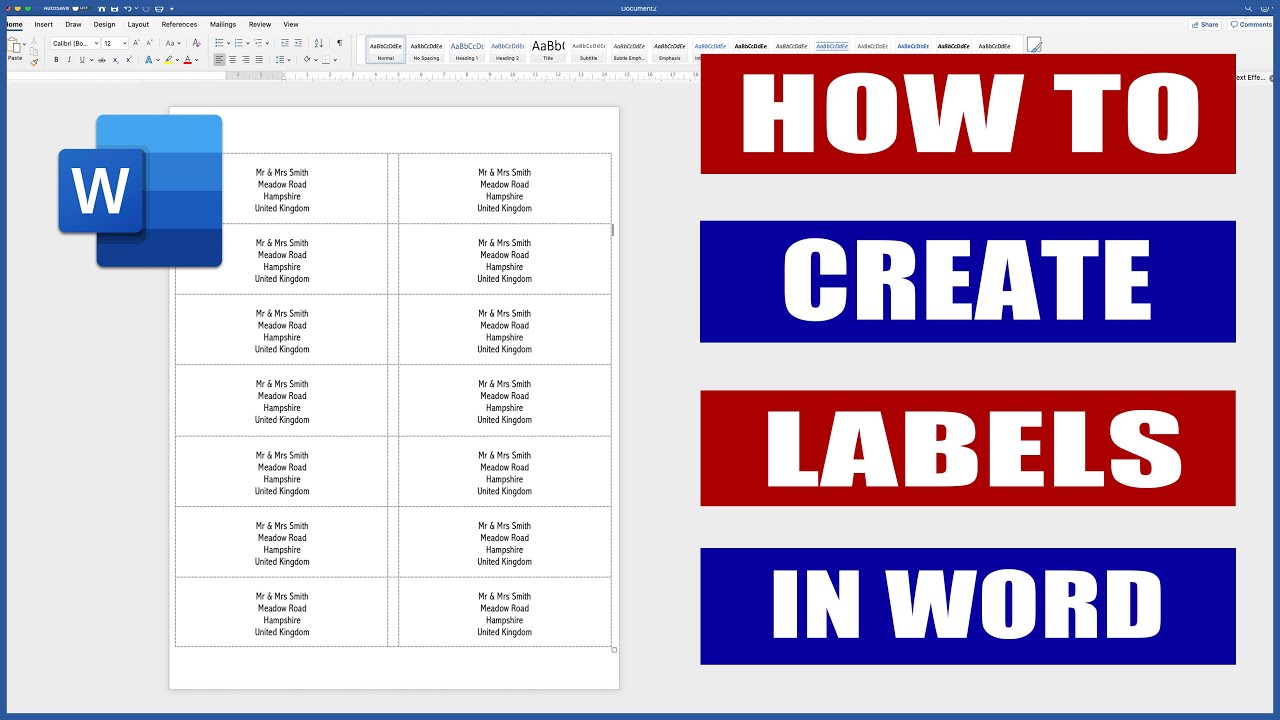
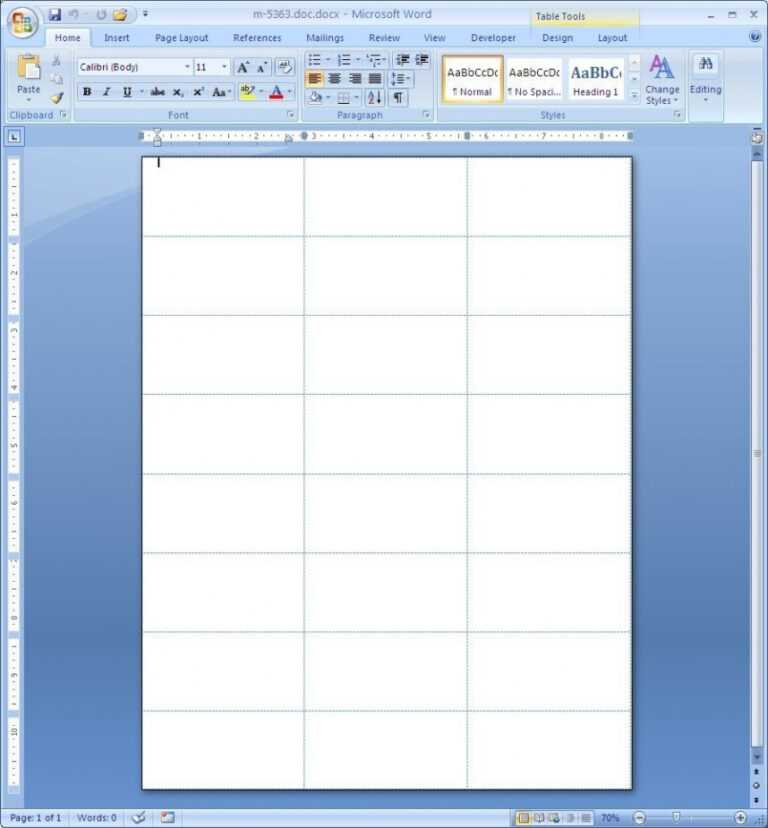
How To Create A Label Template In Word - In the envelopes and labels window, confirm that the labels tab is selected and click “options” near the bottom. In the label options window that opens, select an appropriate style from the “product number” list. Word opens a new document that contains a table with dimensions that match the label product. Web with microsoft word, it's easy to create custom labels for envelopes or other purposes. This information is probably available from your label manufacturer. Learn how to make and print custom labels in word in this video tutorial from microsoft. Click labels. select options. hit new label. If gridlines are not displayed, go to layout > view gridlines to turn. Web open a blank document in word, go to the mailings tab, and select “labels” in the create section of the ribbon. Web create and print a page of identical labels.
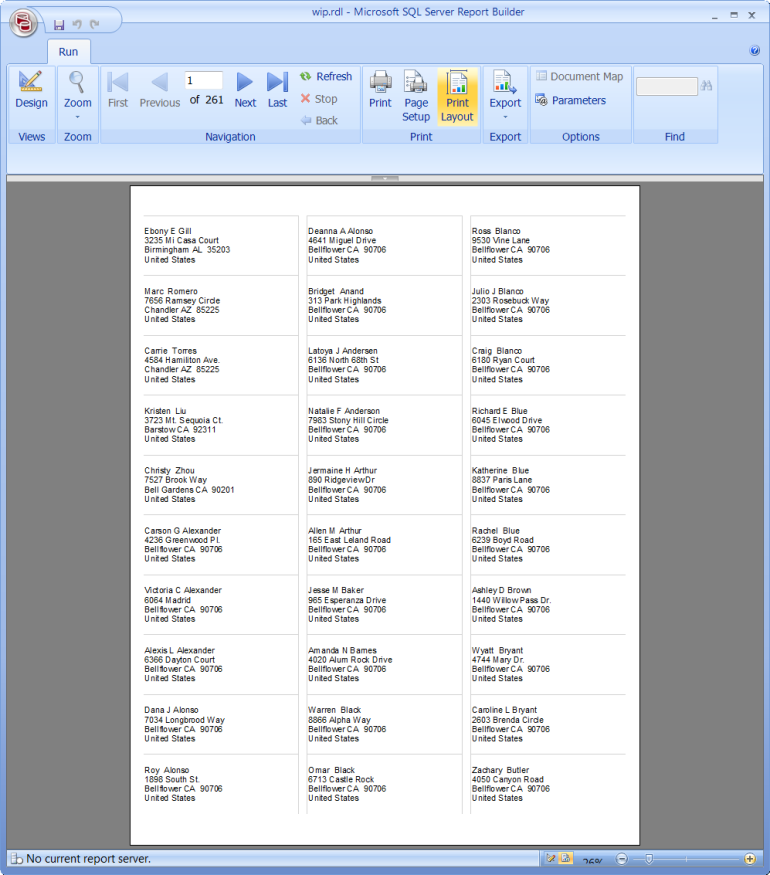
If gridlines are not displayed, go to layout > view gridlines to turn. Web with your word document open, go to the top of screen and click mailings > labels > options. Open on the mailings tab in the menu bar. Web create and print a page of identical labels. Create a new blank label template. Select the label type and size in options. In this example, we’ll use the “30 per page” option. Web create and print a page of different labels. Type an address or other information in the address box (text only). Word opens a new document that contains a table with dimensions that match the label product.
Fill in the name and dimensions for your new label template. Type an address or other information in the address box (text only). Word opens a new document that contains a table with dimensions that match the label product. Select options and choose a label vendor and product to use. If gridlines are not displayed, go to layout > view gridlines to turn. In the envelopes and labels window, click the “options” button at the bottom. Open on the mailings tab in the menu bar. This information is probably available from your label manufacturer. In this example, we’ll use the “30 per page” option. Web create and print a page of different labels.
How to make labels in Word Microsoft Word tutorial YouTube
Go to mailings > labels. Select the label type and size in options. Web with microsoft word, it's easy to create custom labels for envelopes or other purposes. In the label options window that opens, select an appropriate style from the “product number” list. Type an address or other information in the address box (text only).
Word Label Template 21 Per Sheet
Web open a blank document in word, go to the mailings tab, and select “labels” in the create section of the ribbon. Create a new blank label template. Type an address or other information in the address box (text only). Open on the mailings tab in the menu bar. If gridlines are not displayed, go to layout > view gridlines.

Editable Word Wall Templates! Miss Kindergarten Labels printables
Create a new blank label template. Web open a blank document in word, go to the mailings tab, and select “labels” in the create section of the ribbon. Click labels. select options. hit new label. Web create and print a page of different labels. Fill in the name and dimensions for your new label template.

Box File Label Template Word printable label templates
Open on the mailings tab in the menu bar. In this example, we’ll use the “30 per page” option. Click labels. select options. hit new label. In the label options window that opens, select an appropriate style from the “product number” list. In the envelopes and labels window, confirm that the labels tab is selected and click “options” near the.

How To Create Labels In Word Regarding Food Label Template Word CUMED
Type an address or other information in the address box (text only). Web with your word document open, go to the top of screen and click mailings > labels > options. Go to mailings > labels. Learn how to make and print custom labels in word in this video tutorial from microsoft. Create a new blank label template.
Easily create labels with Microsoft Word Computer
Open on the mailings tab in the menu bar. Web create and print a page of identical labels. In the label options window that opens, select an appropriate style from the “product number” list. Learn how to make and print custom labels in word in this video tutorial from microsoft. Web create and print a page of different labels.

50 Avery 5164 Shipping Label Template Template
Word opens a new document that contains a table with dimensions that match the label product. Select options and choose a label vendor and product to use. Create a new blank label template. Click labels. select options. hit new label. Web create and print a page of identical labels.

free holiday label templates Christmas
Web with your word document open, go to the top of screen and click mailings > labels > options. Open on the mailings tab in the menu bar. Select options and choose a label vendor and product to use. Click labels. select options. hit new label. Create a new blank label template.
How To Make Pretty Labels In Microsoft Word Free Editable Printable
In this example, we’ll use the “30 per page” option. This information is probably available from your label manufacturer. Web open a blank document in word, go to the mailings tab, and select “labels” in the create section of the ribbon. Fill in the name and dimensions for your new label template. Web with microsoft word, it's easy to create.

How To How To Create Your Own Label Templates In Word for Label Maker
Fill in the name and dimensions for your new label template. Web with microsoft word, it's easy to create custom labels for envelopes or other purposes. If gridlines are not displayed, go to layout > view gridlines to turn. Select the label type and size in options. Word opens a new document that contains a table with dimensions that match.
In The Label Options Window That Opens, Select An Appropriate Style From The “Product Number” List.
Create a new blank label template. Word opens a new document that contains a table with dimensions that match the label product. In this example, we’ll use the “30 per page” option. Go to mailings > labels.
Web Open A Blank Document In Word, Go To The Mailings Tab, And Select “Labels” In The Create Section Of The Ribbon.
Web with your word document open, go to the top of screen and click mailings > labels > options. This information is probably available from your label manufacturer. Learn how to make and print custom labels in word in this video tutorial from microsoft. Fill in the name and dimensions for your new label template.
Web With Microsoft Word, It's Easy To Create Custom Labels For Envelopes Or Other Purposes.
In the envelopes and labels window, click the “options” button at the bottom. Web create and print a page of different labels. Click labels. select options. hit new label. If gridlines are not displayed, go to layout > view gridlines to turn.
Select The Label Type And Size In Options.
Go to mailings > labels. In the envelopes and labels window, confirm that the labels tab is selected and click “options” near the bottom. Open on the mailings tab in the menu bar. Select options and choose a label vendor and product to use.