How To Make A Dry Erase Calendar
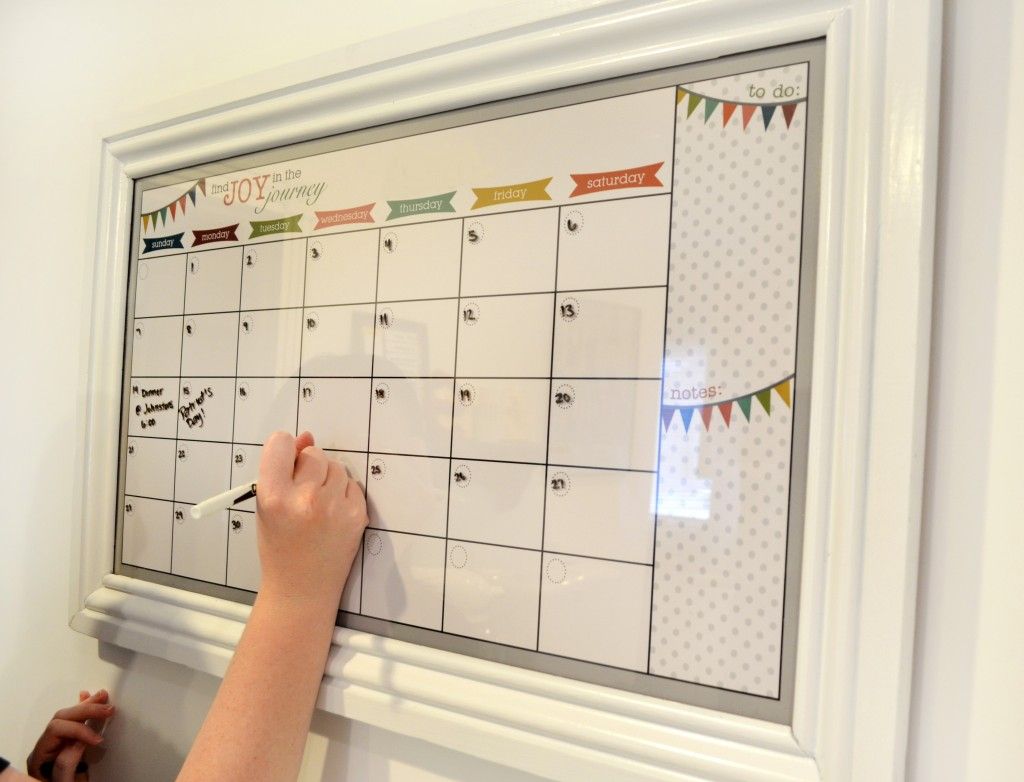
How To Make A Dry Erase Calendar - This easy build dry erase calendar holder is a must build for busy families! All you need is a paper calendar,. Web in this video i'll share an easy diy calendar you can make for free or pretty close to it! Web instead of using a new paper sheet each week, i decided that it would be much better to just make one of the sheets reusable! And it comes off easily, too! Web turn a regular dry erase board into your own personal diy whiteboard calendar and planner! Unwrap the picture frame from the plastic package it came in. Then take the picture frame apart, separating the glass from the frame. Keep your schedule organized with this rotating 2 calendar wall system. Write the month at the top.
Oh boy, it has been a. And a picture frame from the back of your closet can make the best wipeable calendar. Place the poster board down on a flat surface and then place the glass on top. Web turn a regular dry erase board into your own personal diy whiteboard calendar and planner! With a little template help from your cricut and some spray. Write the month at the top. Keep your schedule organized with this rotating 2 calendar wall system. Web want a custom dry erase calendar? This easy build dry erase calendar holder is a must build for busy families! Use it for your editorial calendar or for your family's schedule.
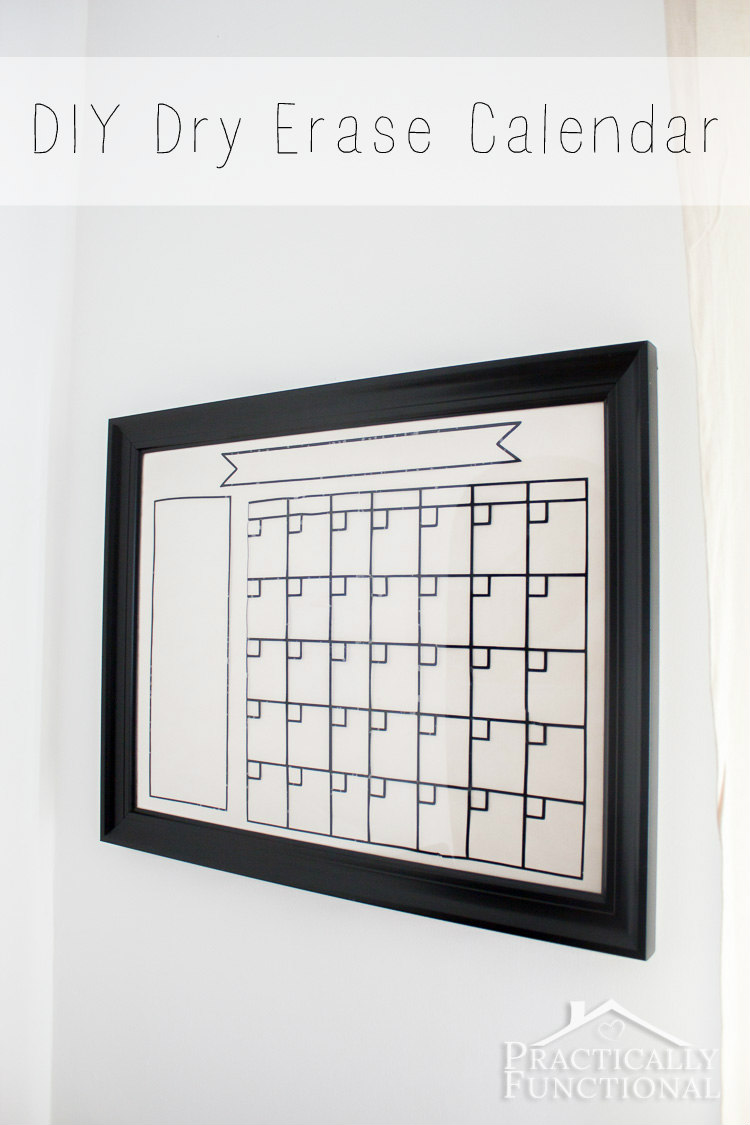
Web in this video i'll share an easy diy calendar you can make for free or pretty close to it! I'll show you how to make this easy dry erase calendar with your cricut. Write the month at the top. Keep your schedule organized with this rotating 2 calendar wall system. Place the poster board down on a flat surface and then place the glass on top. Then take the picture frame apart, separating the glass from the frame. Trace the shape of the glass and then cut the poster board, which should measure to be 16 inches by 20. 18x24 poster frame (walmart has them for cheap!) Web learn how to turn a chalkboard calendar into a dry erase calendar. Then using a ruler and a paint pen, create a 6 x 7 (6 weeks / 7 days) grid.

How To Make A Calendar On A Dry Erase Board Printable And Enjoyable
Web learn how to turn a chalkboard calendar into a dry erase calendar. Unwrap the picture frame from the plastic package it came in. The erasable finish makes it easy to adjust to schedule. I'll show you how to make this easy dry erase calendar with your cricut. Place the poster board down on a flat surface and then place.

DIY Huge, Dry Erase Calendar Board Dry erase board calendar, Dry
Oh boy, it has been a. With just a few materails and tools, you can quickly make a dry erase calendar. With a little template help from your cricut and some spray. And a picture frame from the back of your closet can make the best wipeable calendar. Then using a ruler and a paint pen, create a 6 x.
How To Make A Dry Erase Calendar at Mario Smith blog
Write the month at the top. Web turn a regular dry erase board into your own personal diy whiteboard calendar and planner! I'll show you how to make this easy dry erase calendar with your cricut. And it comes off easily, too! Web in this video i'll share an easy diy calendar you can make for free or pretty close.
DIY Dry Erase Calendar Practically Functional
This easy build dry erase calendar holder is a must build for busy families! Web learn how to turn a chalkboard calendar into a dry erase calendar. With a little template help from your cricut and some spray. And a picture frame from the back of your closet can make the best wipeable calendar. 18x24 poster frame (walmart has them.
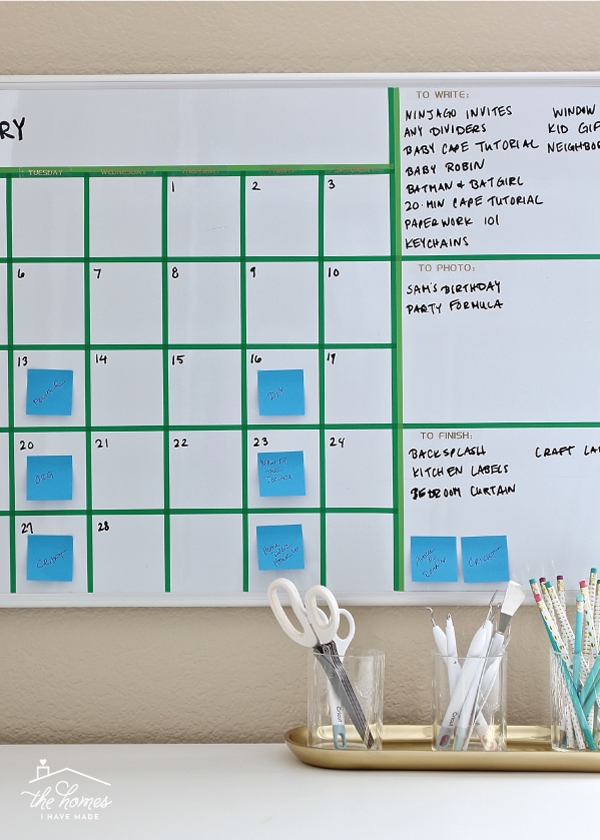
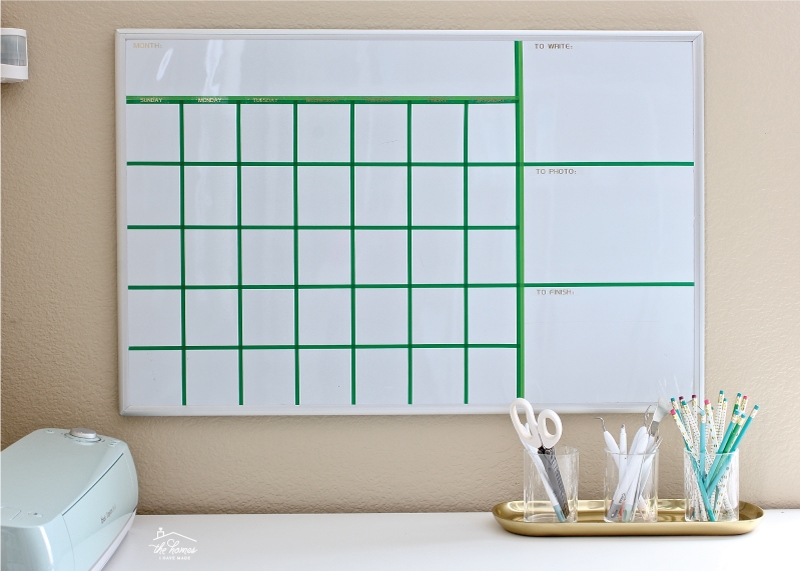
Create Your Own DryErase Calendar with Washi Tape The Homes I Have Made
And a picture frame from the back of your closet can make the best wipeable calendar. Oh boy, it has been a. Web in this video i'll share an easy diy calendar you can make for free or pretty close to it! Web instead of using a new paper sheet each week, i decided that it would be much better.
Create Your Own DryErase Calendar with Washi Tape The Homes I Have Made
Web want a custom dry erase calendar? Place the poster board down on a flat surface and then place the glass on top. And a picture frame from the back of your closet can make the best wipeable calendar. Web glass makes a perfect dry erase surface. Keep your schedule organized with this rotating 2 calendar wall system.
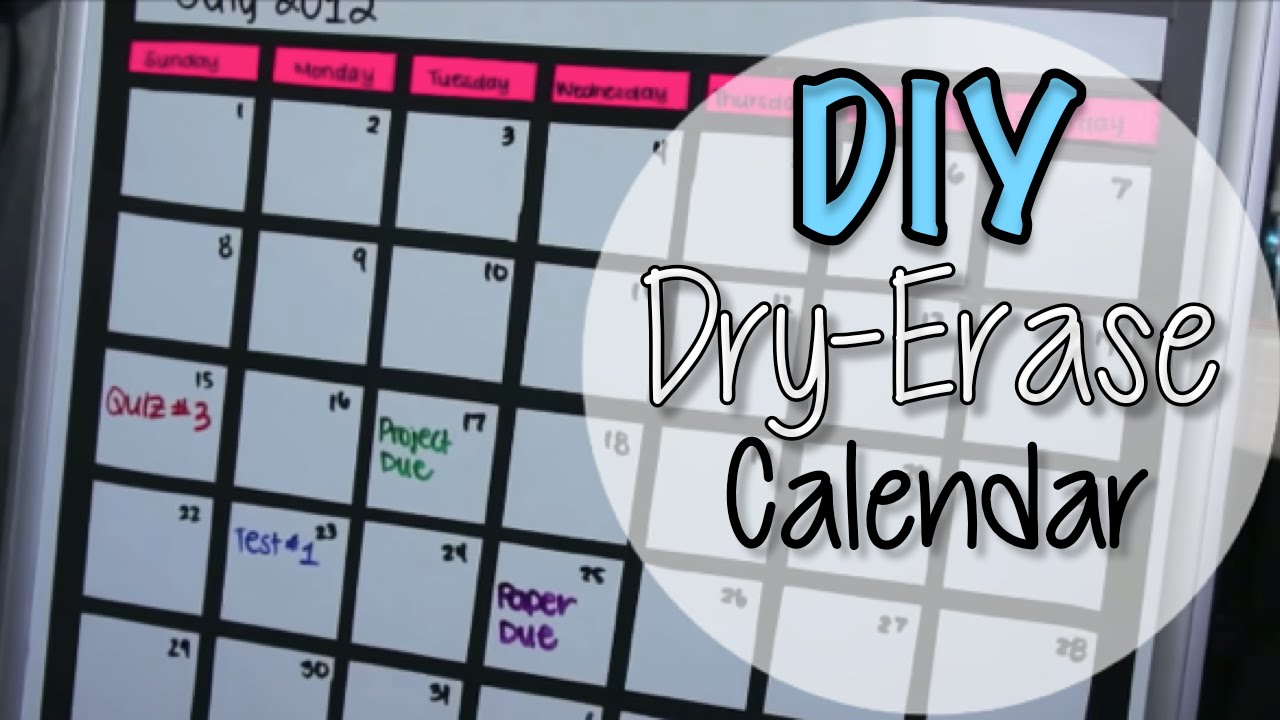
DIY Dry Erase Board Calendar YouTube
Use it for your editorial calendar or for your family's schedule. Web try making this diy dry erase calendar to add some order to your days. Then using a ruler and a paint pen, create a 6 x 7 (6 weeks / 7 days) grid. Web turn a regular dry erase board into your own personal diy whiteboard calendar and.

Create Your Own DryErase Calendar with Washi Tape The Homes I Have Made
Trace the shape of the glass and then cut the poster board, which should measure to be 16 inches by 20. It's great for laying out craft projects, home schooling plans, toddler activities and much. 18x24 poster frame (walmart has them for cheap!) Unwrap the picture frame from the plastic package it came in. This easy build dry erase calendar.

A Load Of Craft Tutorial How To Make A Dry Erase Calendar
The erasable finish makes it easy to adjust to schedule. It's great for laying out craft projects, home schooling plans, toddler activities and much. Unwrap the picture frame from the plastic package it came in. And it comes off easily, too! Tape off the border for the calendar.

Make this Dry Erase Calendar with your Cricut YouTube
18x24 poster frame (walmart has them for cheap!) Keep your schedule organized with this rotating 2 calendar wall system. This easy build dry erase calendar holder is a must build for busy families! Use it for your editorial calendar or for your family's schedule. Then using a ruler and a paint pen, create a 6 x 7 (6 weeks /.
This Easy Build Dry Erase Calendar Holder Is A Must Build For Busy Families!
And it comes off easily, too! Web learn how to turn a chalkboard calendar into a dry erase calendar. 18x24 poster frame (walmart has them for cheap!) All you need is a paper calendar,.
Trace The Shape Of The Glass And Then Cut The Poster Board, Which Should Measure To Be 16 Inches By 20.
With just a few materails and tools, you can quickly make a dry erase calendar. Place the poster board down on a flat surface and then place the glass on top. Web glass makes a perfect dry erase surface. Use it for your editorial calendar or for your family's schedule.
It's Great For Laying Out Craft Projects, Home Schooling Plans, Toddler Activities And Much.
Web instead of using a new paper sheet each week, i decided that it would be much better to just make one of the sheets reusable! Unwrap the picture frame from the plastic package it came in. And a picture frame from the back of your closet can make the best wipeable calendar. Keep your schedule organized with this rotating 2 calendar wall system.
With A Little Template Help From Your Cricut And Some Spray.
Web add some organization to your life with a dry erase calendar you can make yourself! Tape off the border for the calendar. Then using a ruler and a paint pen, create a 6 x 7 (6 weeks / 7 days) grid. Write the month at the top.